
This is a quick tutorial based on a user question from Reddit. The scenario is this
- The company primarily uses WooCommerce to input manual orders
- There are several people in the company that adds the orders into WooCommerce
- Out of the box, WooCommerce doesn’t have an easy way to see which internal users that added which order and there’s no built in way to change it.
This problem is actually quite easy to solve with WunderAutomation, Advanced Custom Fields and Admin Columns. Let’s see how.
Requirements
Before we begin. Let’s look at the requirements for this to work, you need the following plugins installed on your self hosted WordPress site:
- A WooCommerce store.
- Advanced Custom Fields (free) – we use this to add an extra custom field to the Order post type in WordPress
- Admin Columns (free) – we use this to show the order owner in the WooCommerce Order list.
- WunderAutomation (free) – we use WunderAutomation to set up a workflow that ties everything together.
Creating a new order field using Advanced Custom Fields
We’re going to create a new field group named “Order Meta”. In this field group, we create one single field of the type “User”. We’ll label the new field “Creator”


Note that when we type in the field label “Creator”, ACF will automatically suggest that the field name should be “creator”. Next. we’ll scroll down to the Location section and enable this field group on WooCommerce orders:

And we’ll make this field appear in a right hand side metabox. Scroll down to the Settings section and change position to Side:
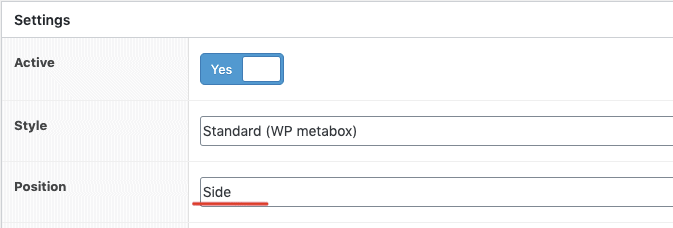
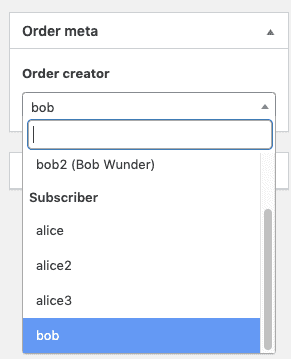
That’s it. Scroll back up to the top and click Publish. Next, we can go to the WooCommerce order overview to verify that the field appears on the right hand side:
Filling the new field automatically with WunderAutomation
Next we will create a very simple workflow in WunderAutomation that automatically fills the Creator field with the name of the currently logged in user. First, we’ll create a new workflow and call it “Set order owner” and use “Post saved” as the trigger:

The reason we use Post saved rather than any of the WooCommerce order specific triggers is that this trigger provides two objects to the workflow, the post itself and the user that owns it (author).
Well also add some filters:
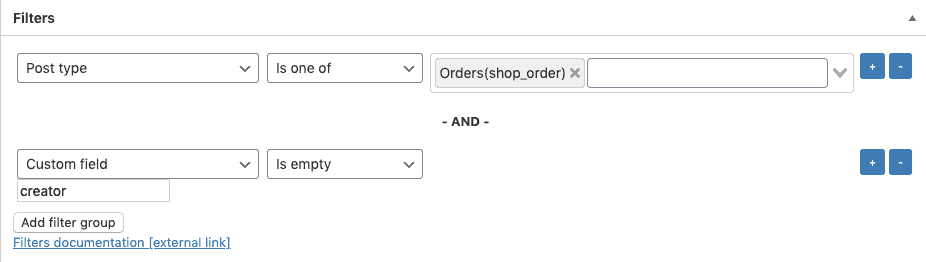
| Filter | Operator | Value | Description |
| Post type | Is one of | Oders (shop_order) | We require that the post that triggered this workflow is included in the list. The list itself only contains one value “Orders”. So for any other post type that is saved, this workflow will stop here |
| Custom Field “Creator” | Is Empty | If we’ve already set the value of the the Creator field, we don’t want the workflow to run again. |
Note that there are two reasons behind the second filter. First, if a user changes this value manually, we don’t want the workflow to overwrite it with the current user. Second, it is good practice to try avoid running actions when they’re not strictly needed for performance reasons.
Last step is to set up an action that will run if the two above conditions are true:
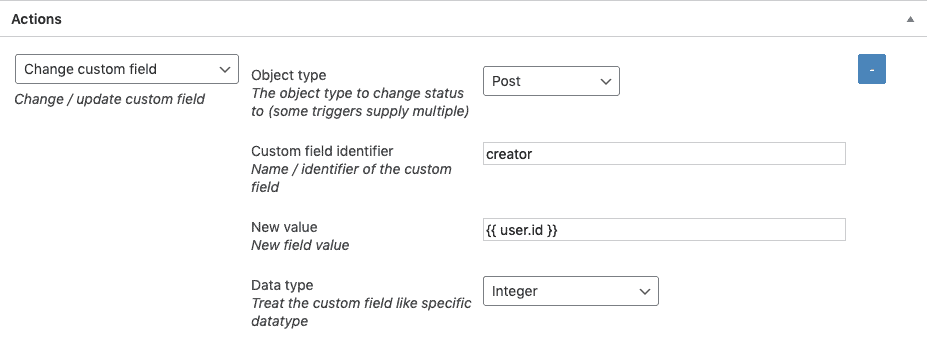
Action type: Change custom field
| Field | Setting | Description |
| Object type | Post | The trigger provides two objects, post and user. We want to update a field on the post object |
| Custom field identifier | creator | The name of the custom field we want to update. This has to match the |
| New value | {{ user.id}} | We use a parameter placeholder to say that we want the user ID of the user object that was provided. |
| Data type | Integer | This makes sure that the value written to the database is always an integer. |
When you create a new order in WooCommerce it will be saved into the database once before you even see the order edit screen the first time. At this point in time, the post owner is already set to the ID of the currently logged in user. This workflow action simply copies this value to the custom field we defined earlier.
Displaying the value in the order overview
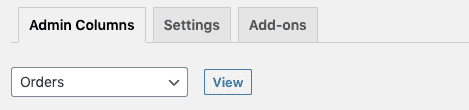
As a last step, we want the value of the new field to be visible in the order overview. We solve this with Admin Colums. Go to the Admin Columns settings page (Settings >> Admin Columns) and select the Order post type:
Click the +Add Columns button and add our custom field:
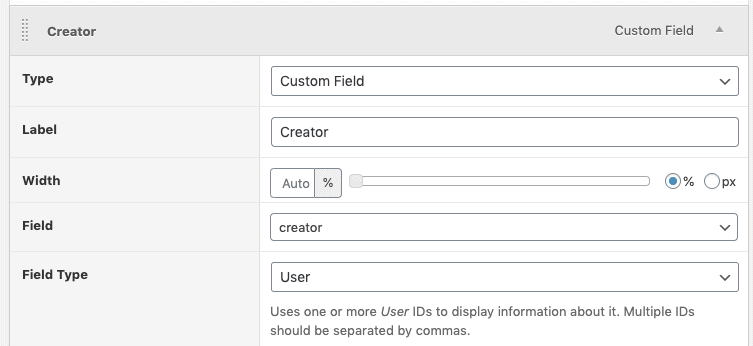
| Field | Value | Description |
| Type | Custom Field | This tell Admin Column that the new column we’re adding is a post custom field |
| Label | Creator | This is the name visible in the Order list overview |
| Width | 10% | How much (relative) width do we want to give this column |
| Field | creator | The name (identifier) of the actual custom field. This has to match the field name we assigned in ACF |
| Field type | User | This instructs Admin Columns that the value found in the custom field is to be treated as the ID of a user. |
Conclusion
That’s it. We’ve seen how WunderAutomation can be used as a glue to make Advanced Custom Fields and Admin columns into even more powerful tools for WordPress customizations.
If you have any questions about this tutorial, feel free to comment below.